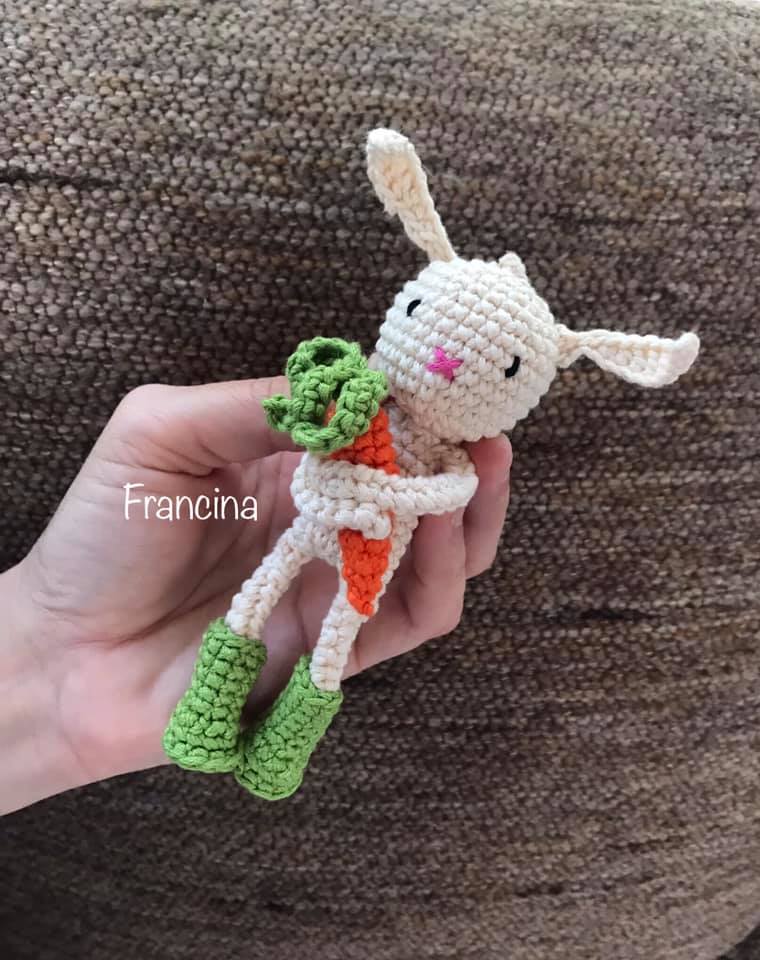
CLARA LOVES CARROTS
Languages available: English, Deutsch
Skill level: Level 2 of 5 (Easy)
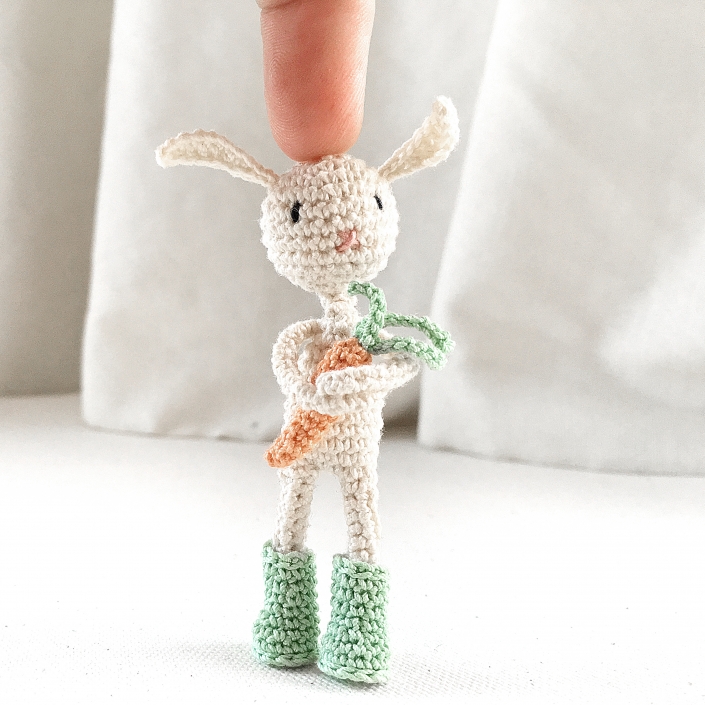
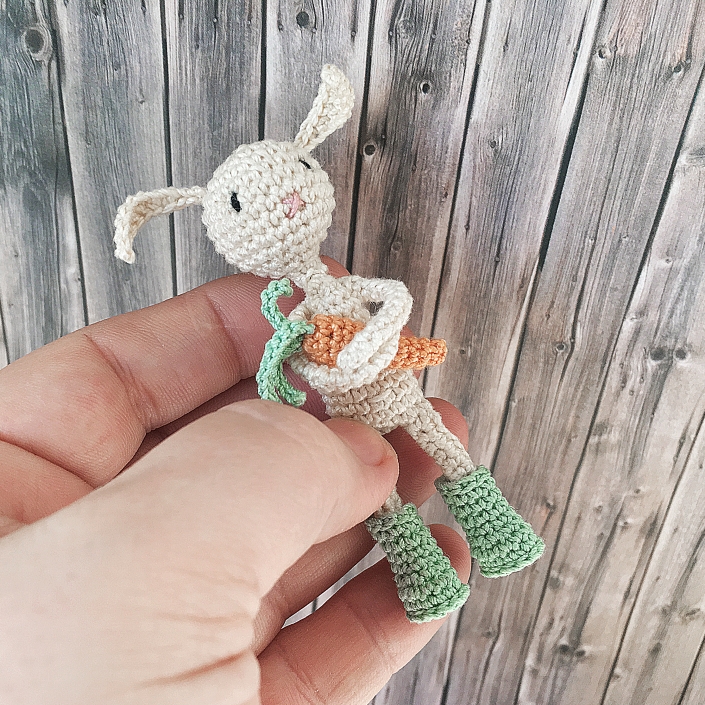
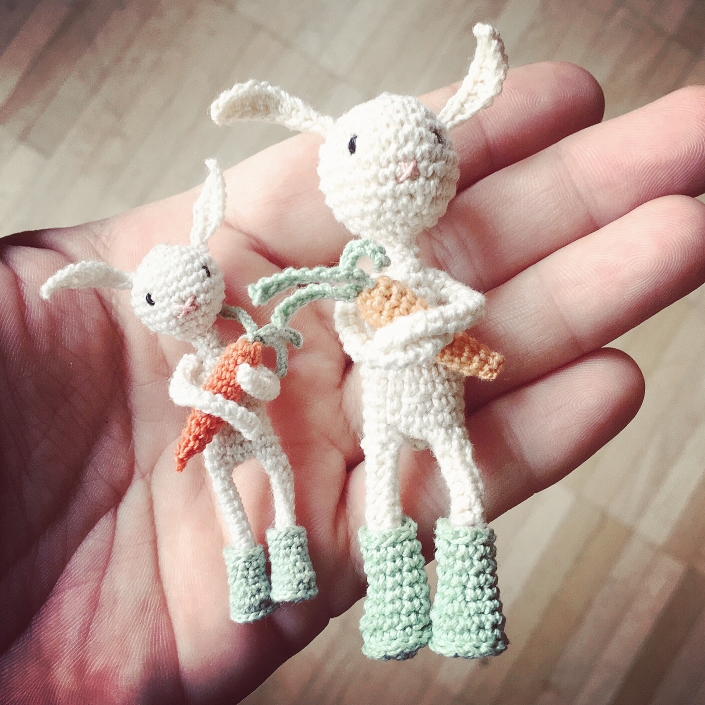
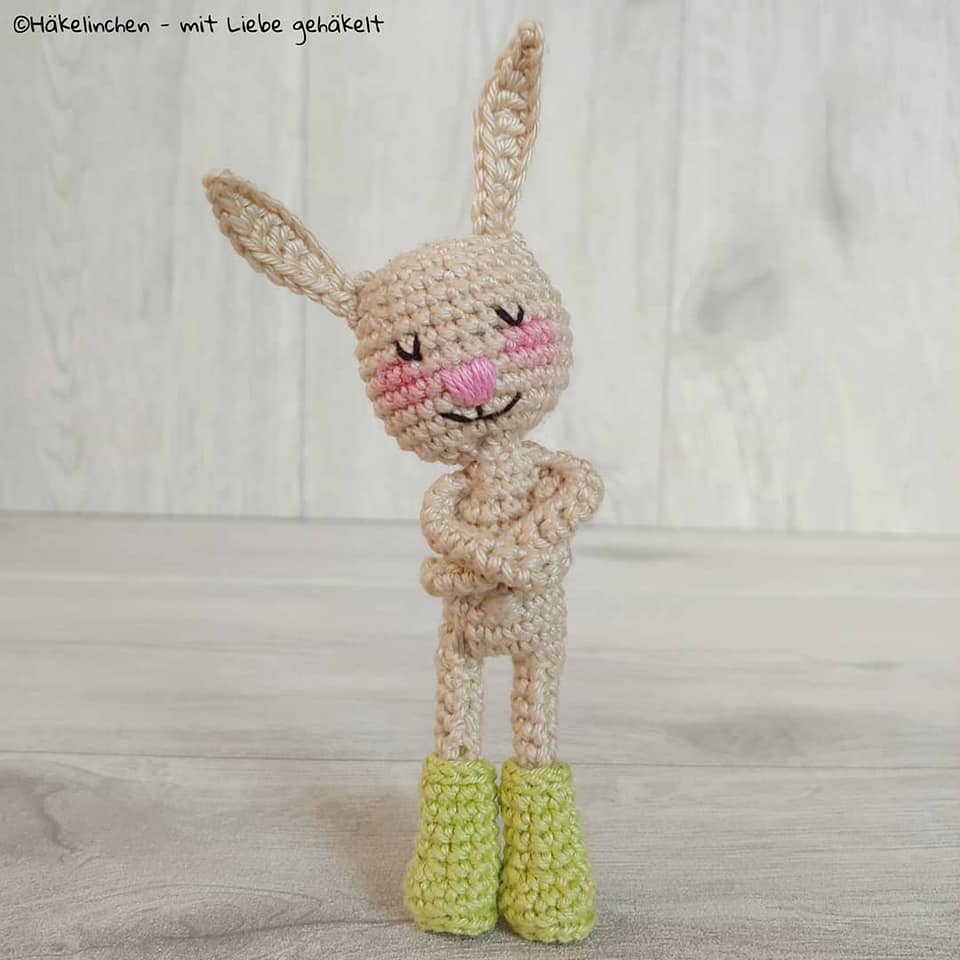
This is a free amigurumi pattern for Clara, the little Easter bunny who loves carrots more than anything else in the world. Once you have finished, please don’t forget to share your results with us in our Facebook Group Polaripop’s Elves.
– – – – –
MATERIALS & TOOLS
Yarn or Thread
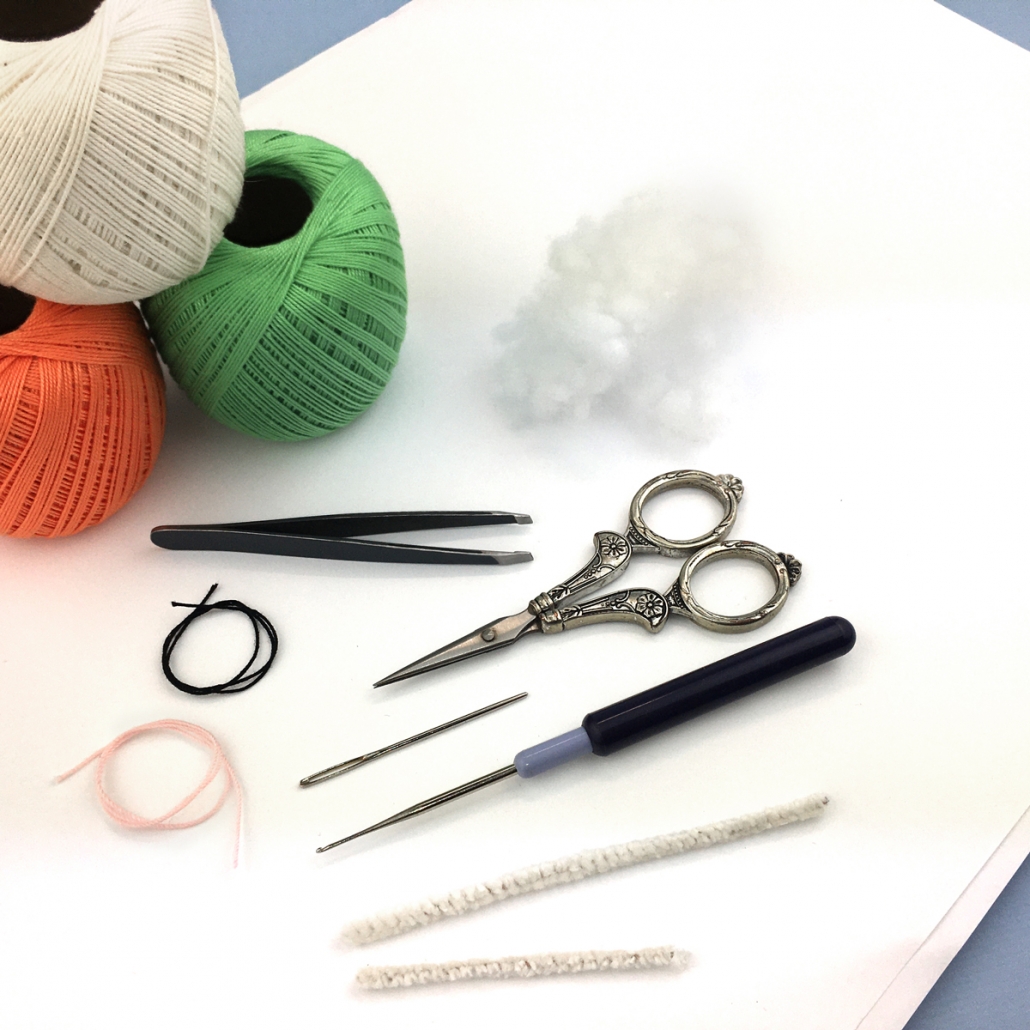
Crochet thread (size 10), embroidery floss or 1-ply yarn in the following colors:
Tools & Extras
– – – – –
THE LEGS
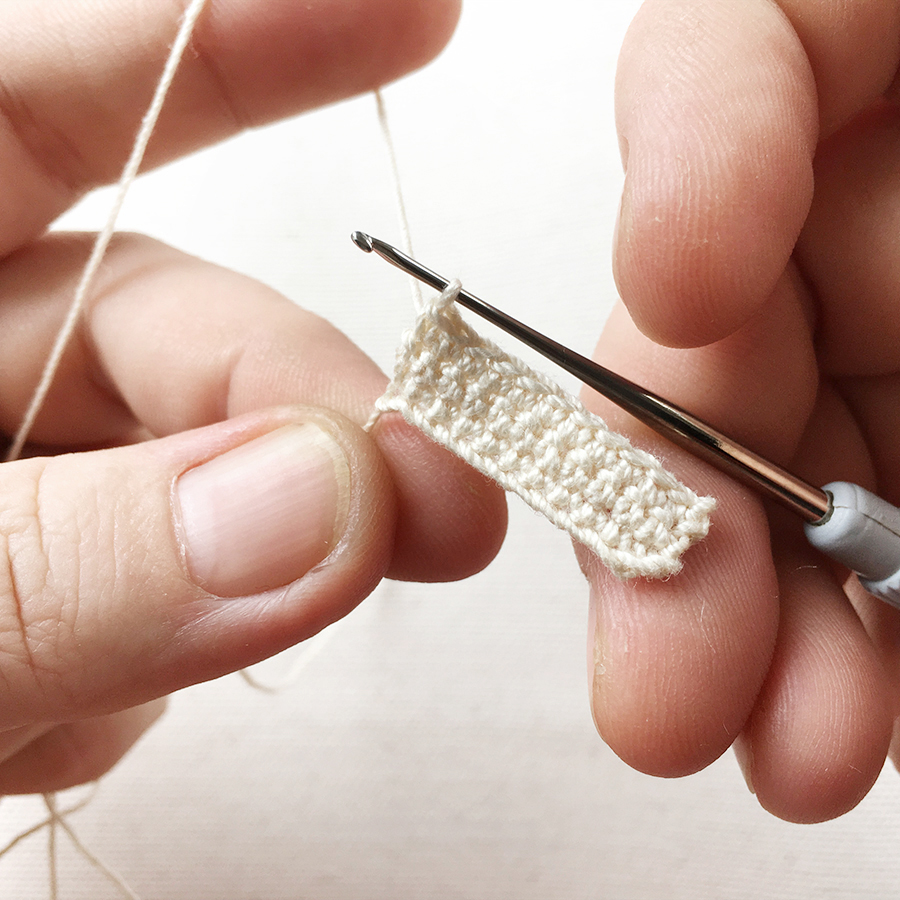
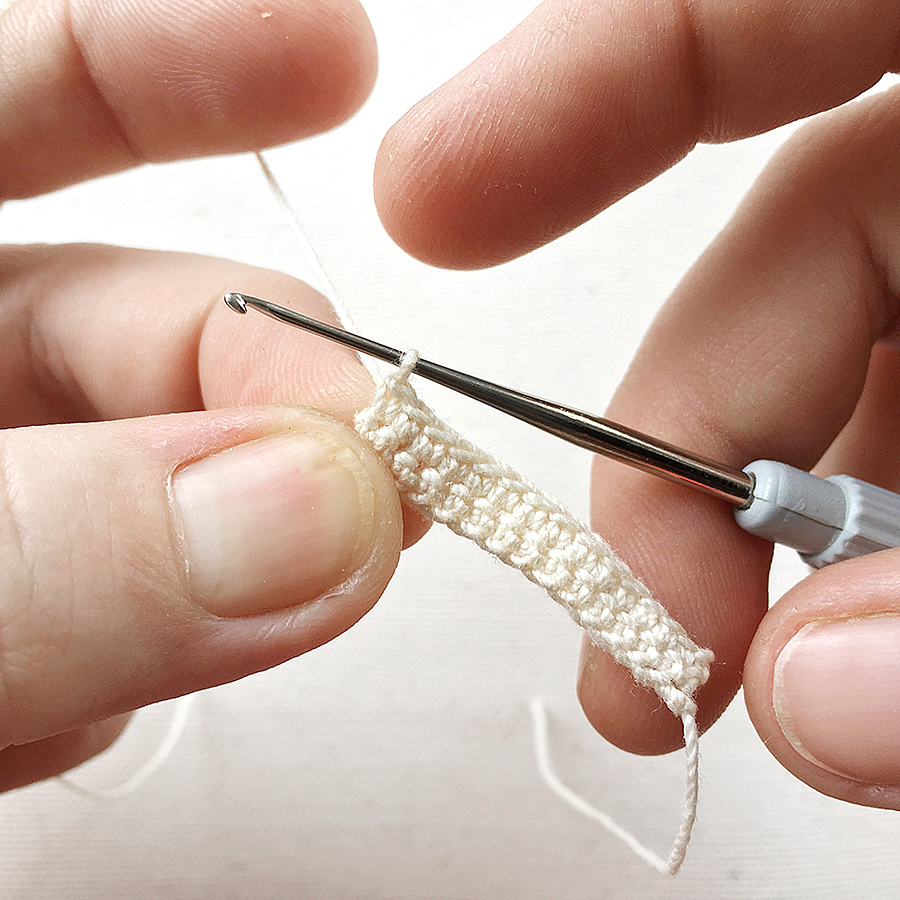
Chain 12, crochet into these chains, starting at 2nd stitch from hook:
R 1: 11 sc, 1 turning chain, turn work,
R 2: 11 sc, 1 turning chain, turn work,
R 3: 11 sc
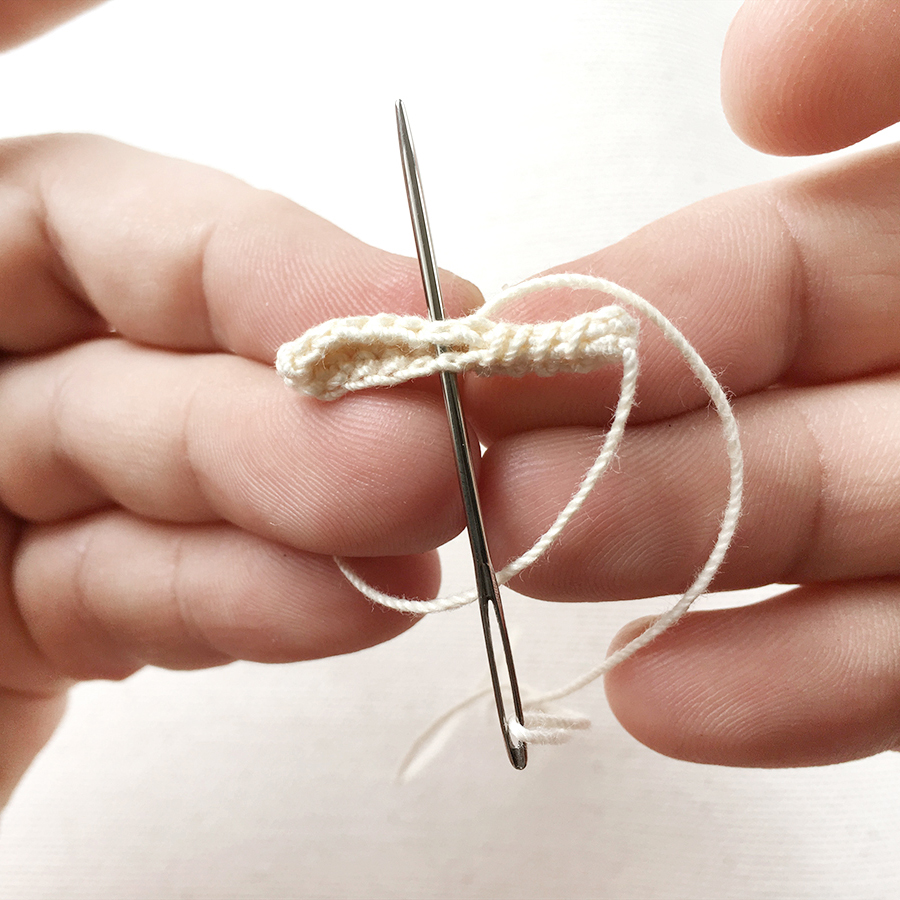
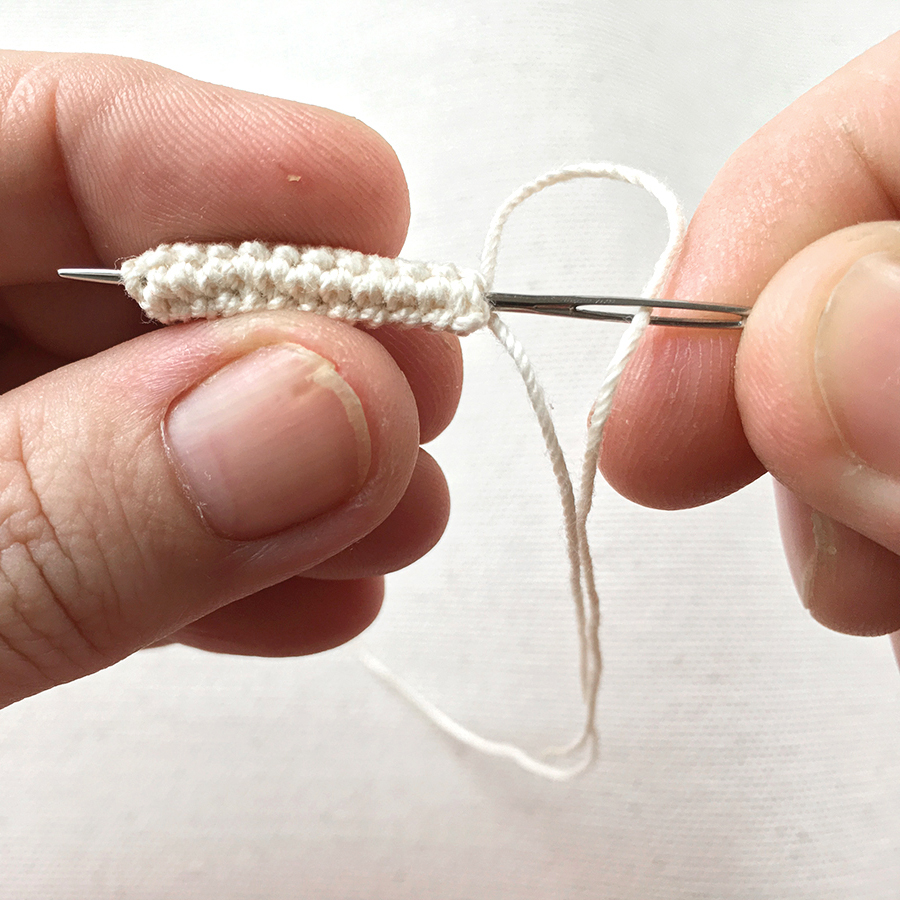
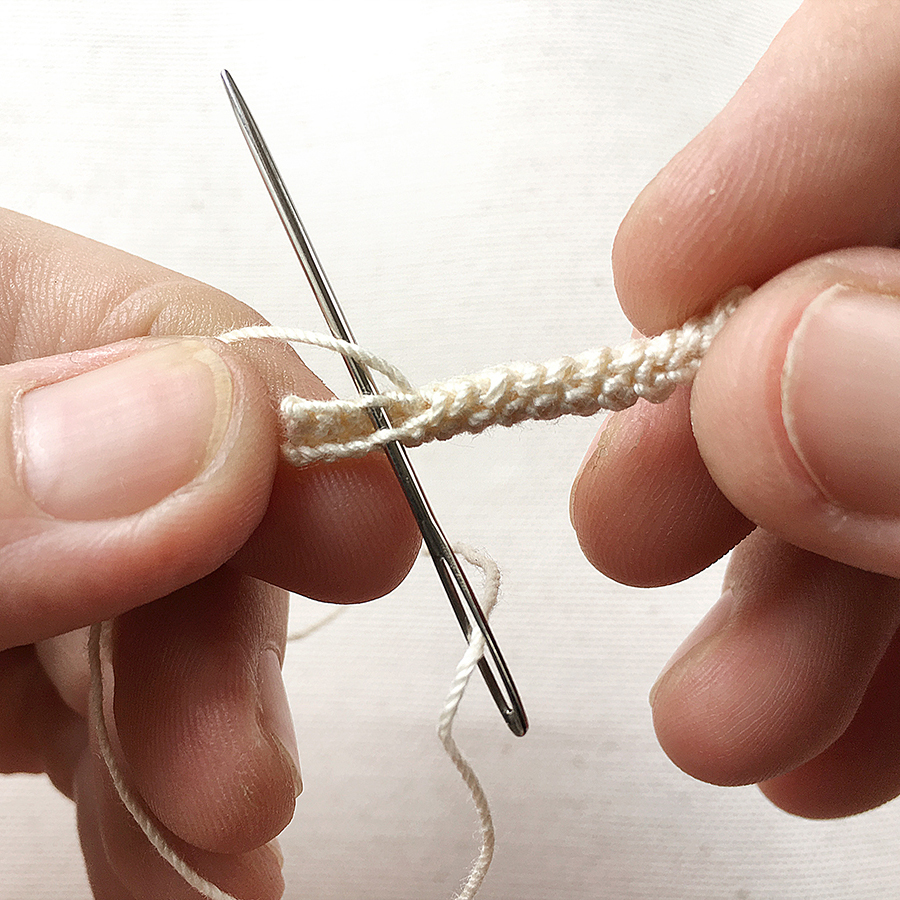
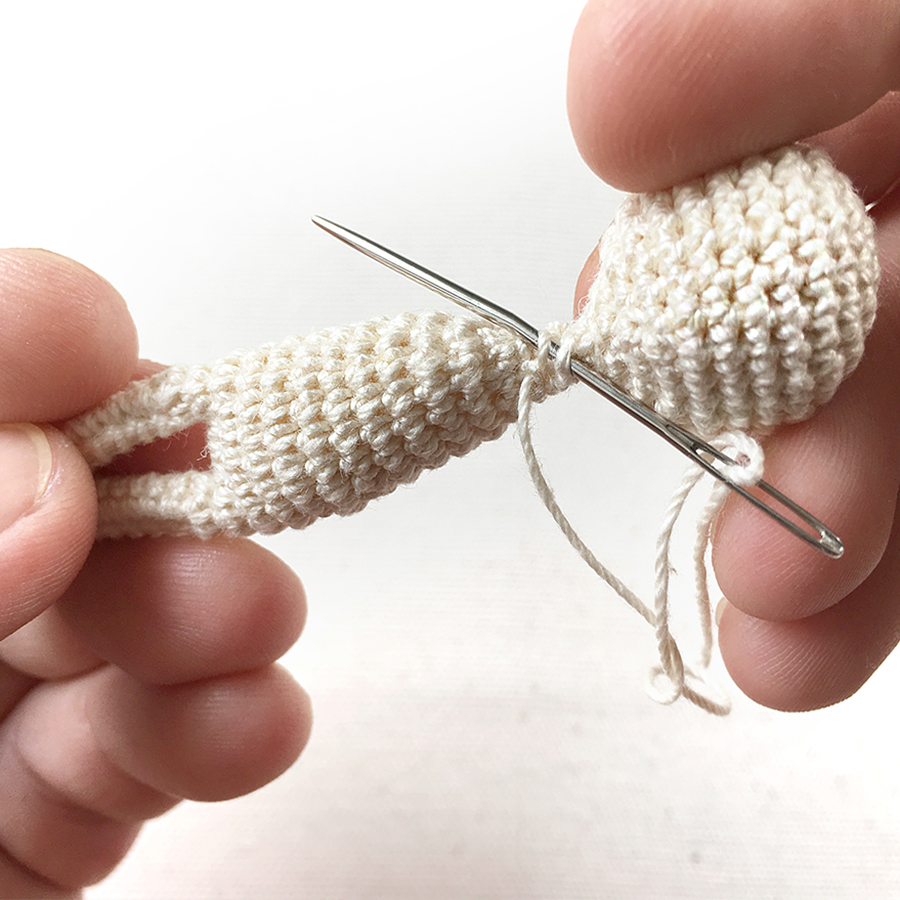
Now cut the yarn, leaving a long tail, then use the tail and your needle to sew the leg together, creating a tubular shape.
Cut the yarn and weave in all yarn ends.
Crochet a second leg after the same pattern.
– – – – –
THE ARMS
Color Natural White
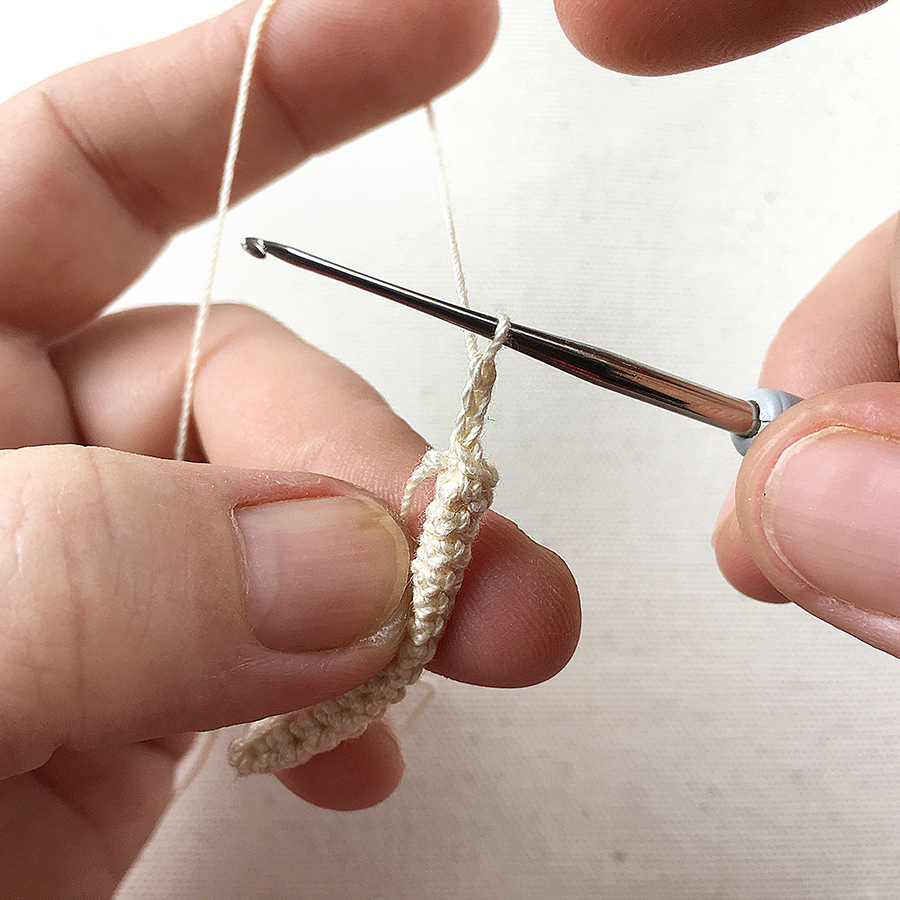
The arms are made exactly like the legs, but with a different stitch and row count: Chain 15, crochet into these chains, starting at 2nd stitch from hook:
R 1: 14 sc, 1 turning ch, turn work,
R 2: 14 sc
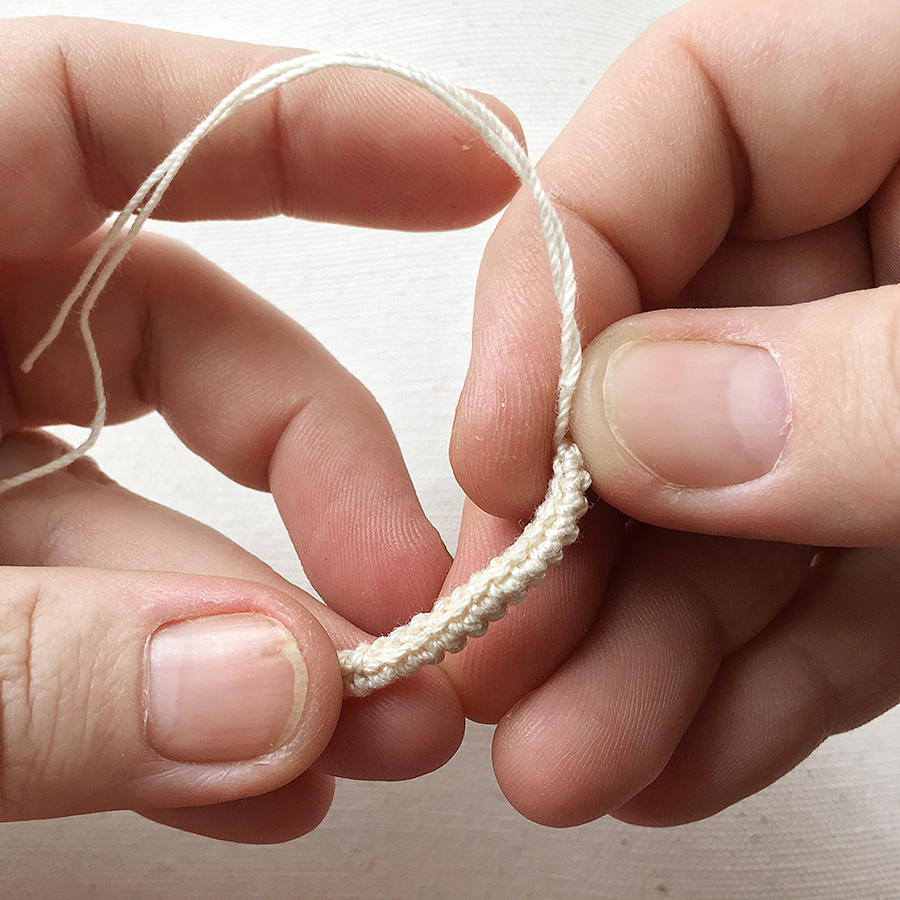
Again, cut the yarn with a long tail and use the yarn tail and your needle to create a tubular shape.
This time do not cut the 2 yarn ends, but knot them together well.
We will use the ends later to attaching the arms to the body.
Crochet a second arm after the same pattern.
– – – – –
BODY & HEAD
Color Natural White
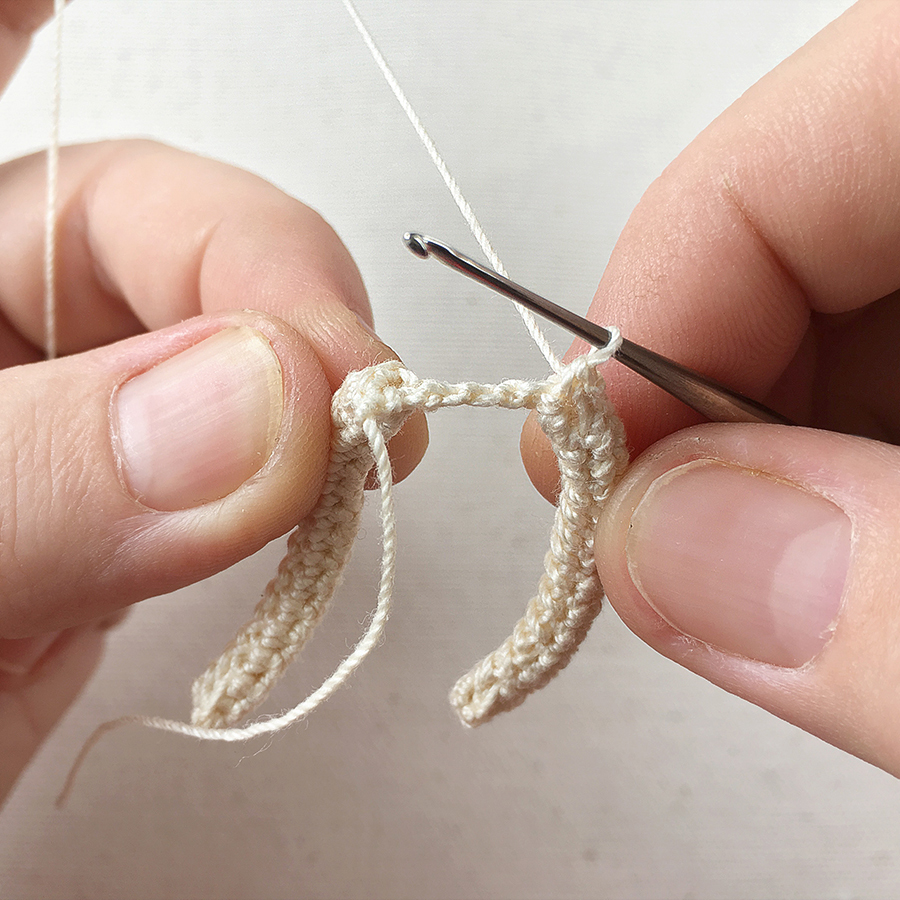
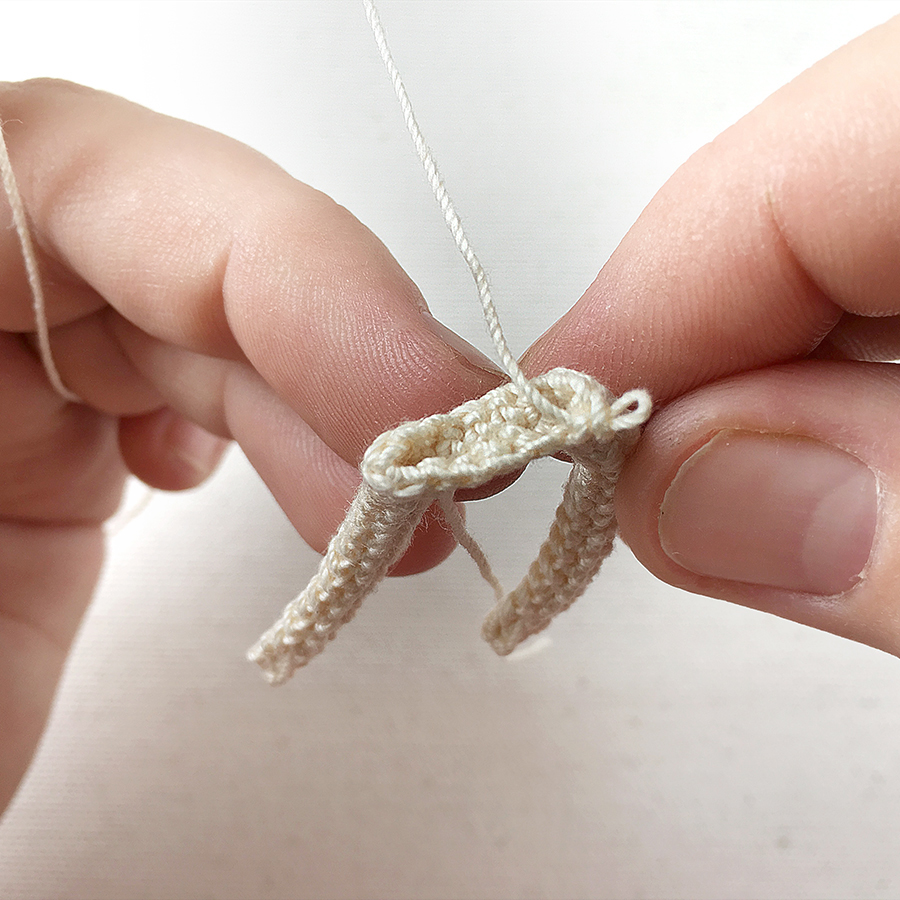
We now have to connect the legs. Start with a loop. Try to find 5 st around the top of the right leg and crochet 1 sc into each of them, then chain 3.
Find another 5 st around the top of the left leg and crochet 1 sc into each of them.
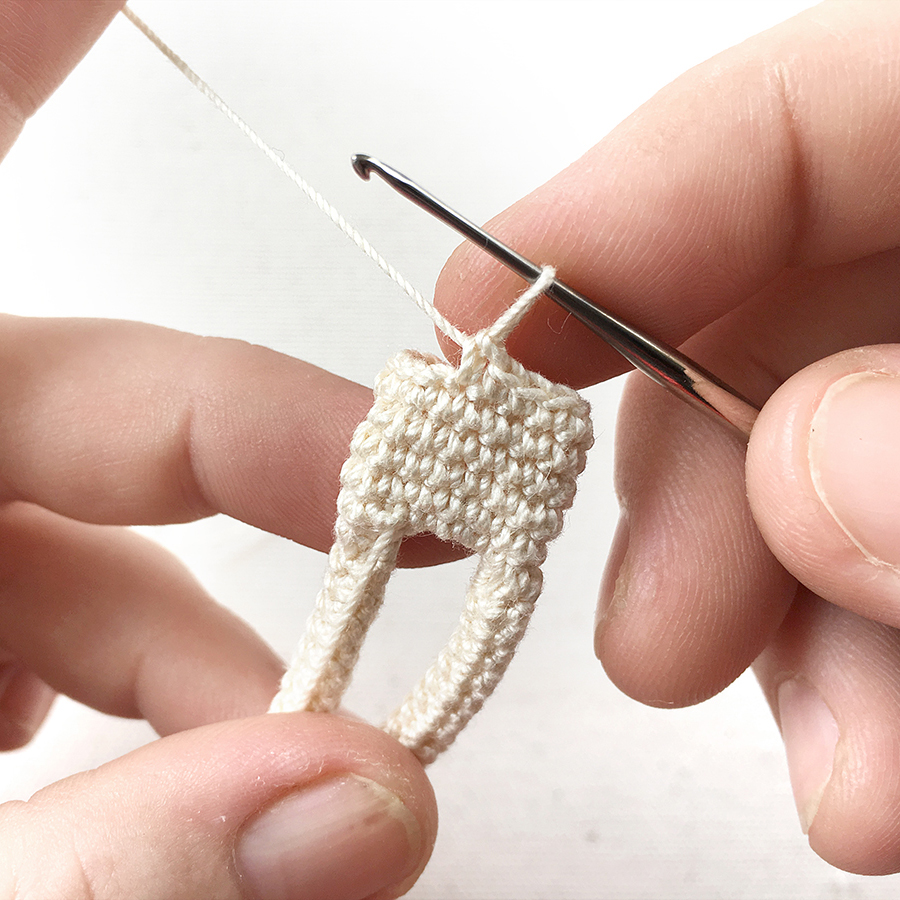
Crochet another 3 sc into the 3 „connection“ chains. This should leave you with a round of 5+3+5+3=16 st. Now follow the chart:
Rd 2-5: 4 rds sc = 16 st
Rd 6: (dec, 6 sc)*2 = (-2) = 14 st
Rd 7-8: 2 rds sc = 14 st
Rd 9: (dec, 5 sc)*2 = (-2) = 12 st
Rd 10: 1 rd sc = 12 st
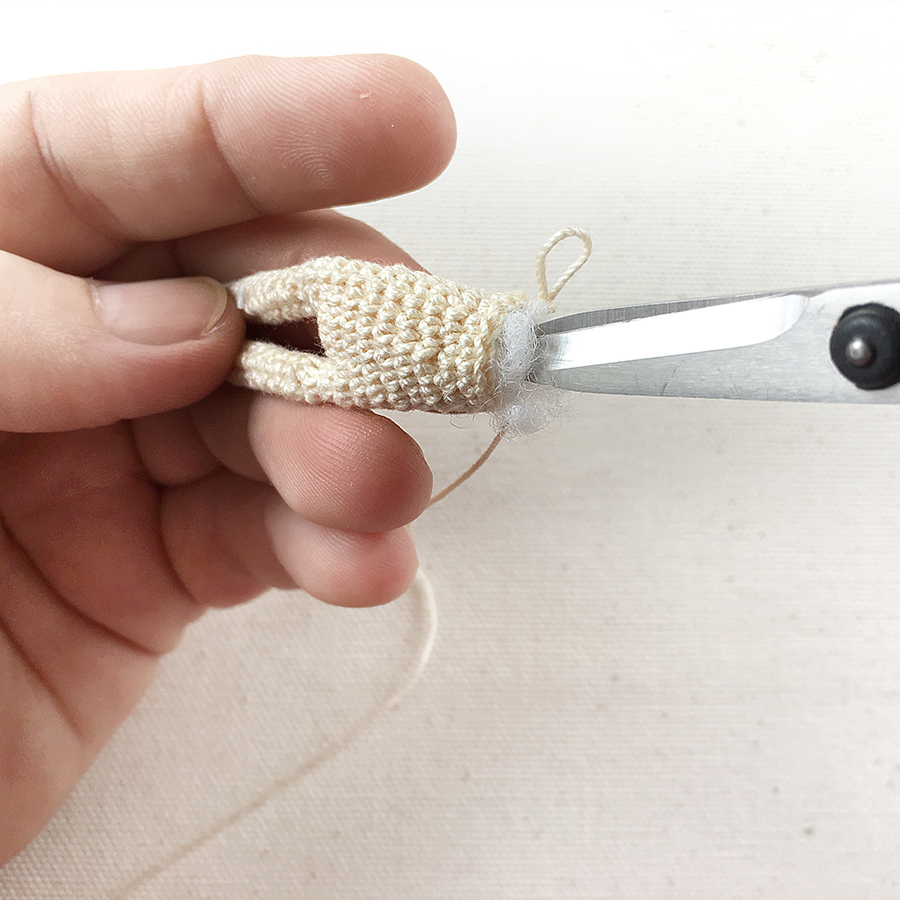
Use scissors or tweezers to add some stuffing to the body.
Rd 11: (dec, 4 sc)*2 = (-2) = 10 st
Rd 12: (dec)*5 = (-5) = 5 st
Rd 13: 1 rd sc = 5 st
Rd 14: into FLO: inc*5 = (+5) = 10 st
Rd 15: inc*10 = (+10) = 20 st
Rd 16: (3 sc, inc)*5 = (+5) = 25 st
Rd 17-21: 5 rds sc = 25 st
Rd 22: (3 sc, dec)*5 = (-5) = 20 st
Rd 23: (1 sc, dec, 1 sc)*5 = (-5) = 15 st
Stuff neck and head well. If necessary, push a small peace of pipe cleaner into the neck to reinforce it.
Rd 24: (1 sc, dec)*5 = (-5) = 10 st
Rd 25: dec*5 = (-5) = 5 st
Cut the yarn leaving a long tail, then use the needle to sew the yarn end through all 5 front loops of the last round. Pull tight to close the hole and weave in all yarn ends.
– – – – –
DETAILS & FINISH
Attaching the Arms
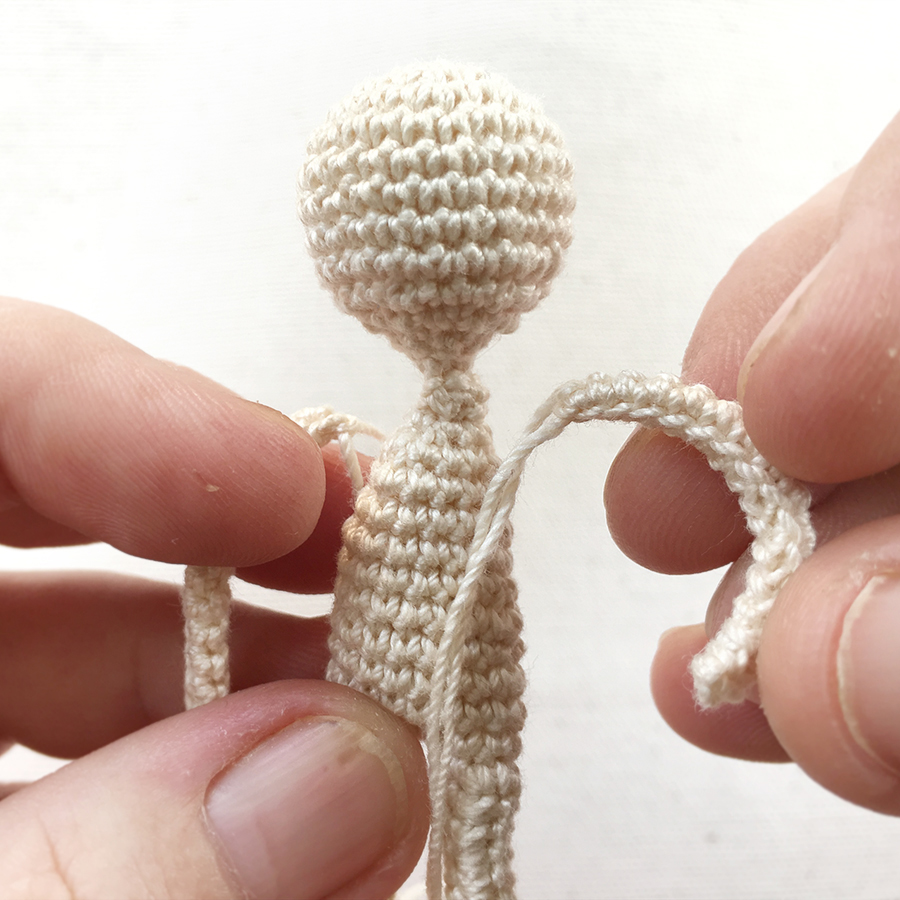
Use the yarn ends and your needle to sew the arms to both sides of the body right underneath the neck.
Crocheting The Ears (with color natural white)
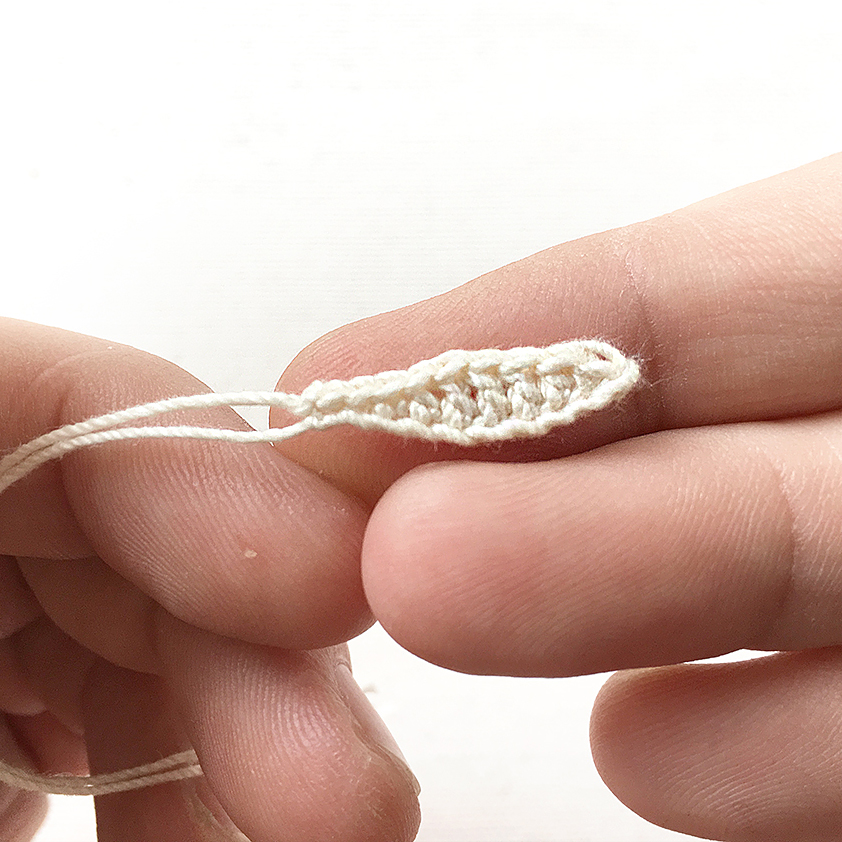
Chain 12, then crochet into these chains, starting at 2nd chain from hook: 1 sl st, 1 sc, 1 hdc, 3 dc, 1 hdc, 2 sc, 2 sl st. Cut the yarn, leaving a long tail for sewing, then fasten off with a slst, cut the yarn leaving a long tail for sewing.
Attaching the Ears
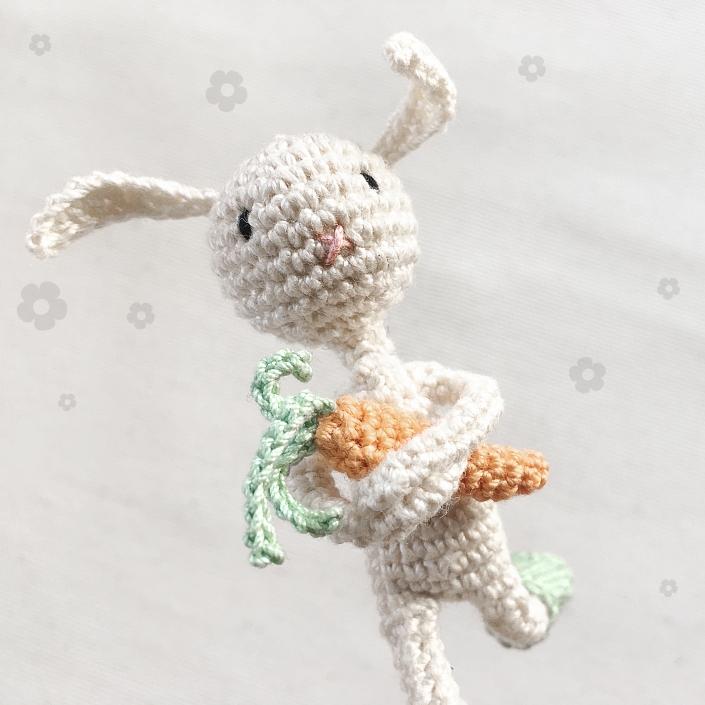
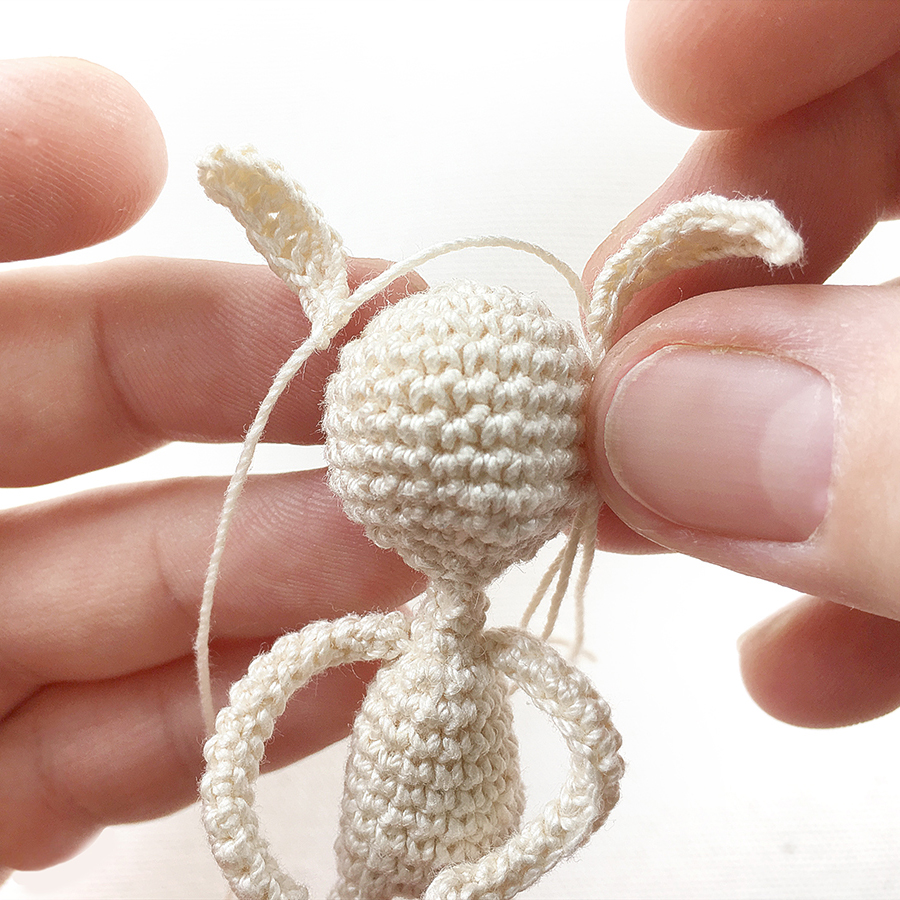
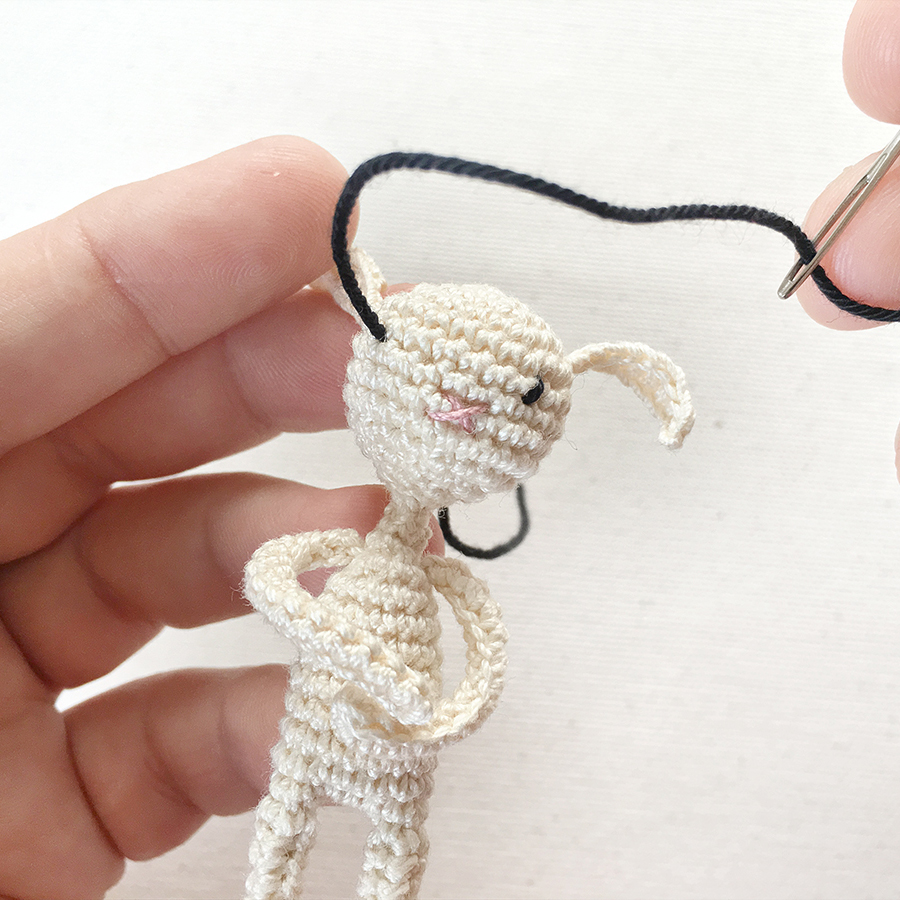
Crochet a second ear after the same pattern. Use the yarn ends and your needle to attach the ears to the head like shown in the pictures.
The Face
Nose: Embroider a little cross shape in pink exactly in the middle of the face.
Eyes: Embroider the eyes with black yarn 2 rds above the nose with a distance of 6 stitches, the height should be 1 rd only.
The Boots (with color avocado)
Rd 1: MR, 6 sc into ring = 6 st
Rd 2: inc* 6 = (+6) = 12 st
Rd 3: 1 rd sc into BLO = 12 st
Rd 4: 1 rd sc = 12 st
Rd 5: 4 sc, dec*2, 4 sc = (-2) = 10 st
Rd 6-9: 4 rds sc = 10 st
Rd 10: 1 rd sl st = 10 st
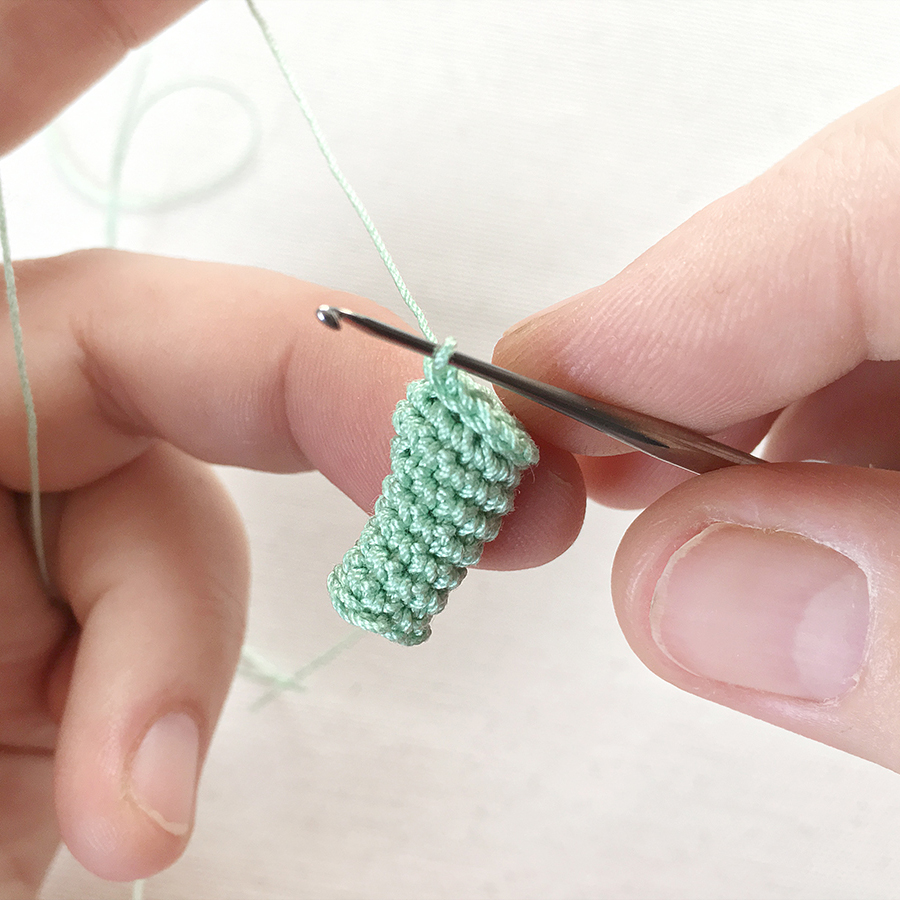
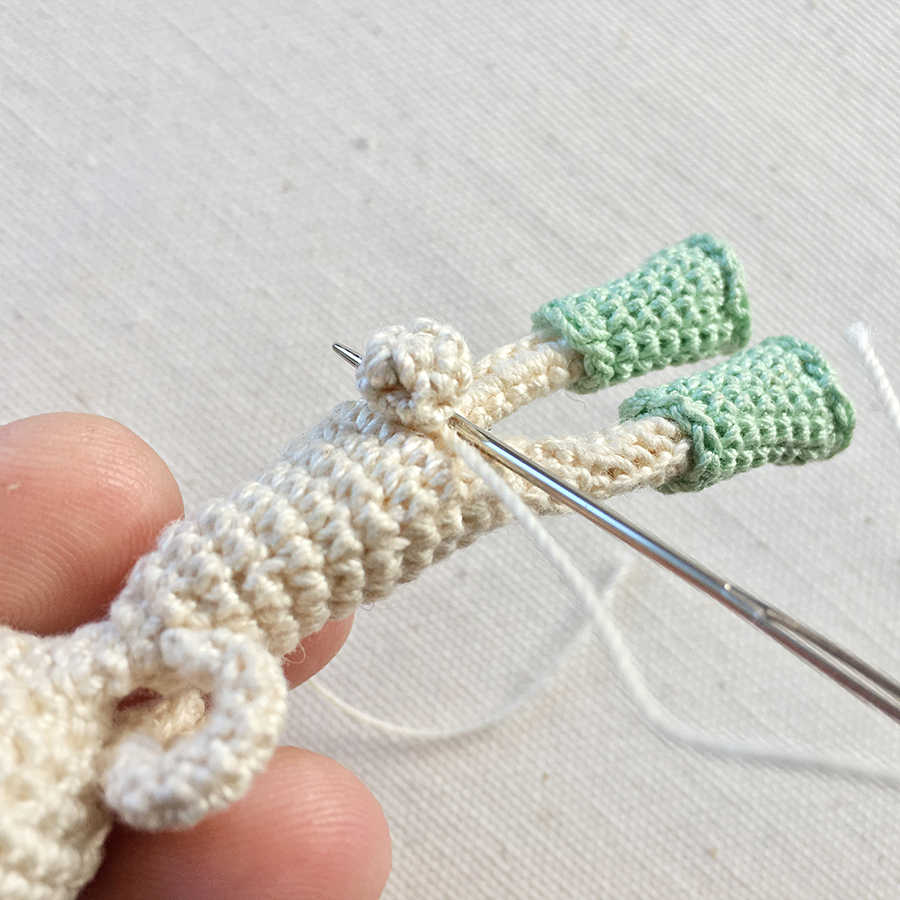
Cut yarn, fasten off and sew in ends. Turn boot upside down, and crochet 1 rd of slst around the sole like shown. Cut yarn and weave in all ends. Pull a piece of pipe cleaner into legs from bottom to reinforce it, then put boots onto legs.
The Scut (with color natural white)
Rd 1: MR, 6 sc into ring
Rd 2-3: 2 rds sc
Cut the yarn, leaving a long tail for sewing, then yarn off and use needle and yarn tail to weave through all front loops of the 6 st left. Pull tight and use yarn tail to sew the scut to the butt of your bunny.
– – – – –
THE CARROT
Carrot (with color apricot)
Rd 1: MR, 8 sc into ring = 8 st
Rd 2-6: 5 rds sc = 8 st
Rd 7: 6 sc, dec = (-1) = 7 st
Rd 8-9: 2 rds sc = 7 st
Rd 10: 5 sc, dec = (-1) = 6 st
Rd 11: 1 rd sc = 6 st
Rd 12: dec*3 = (-3) = 3 st
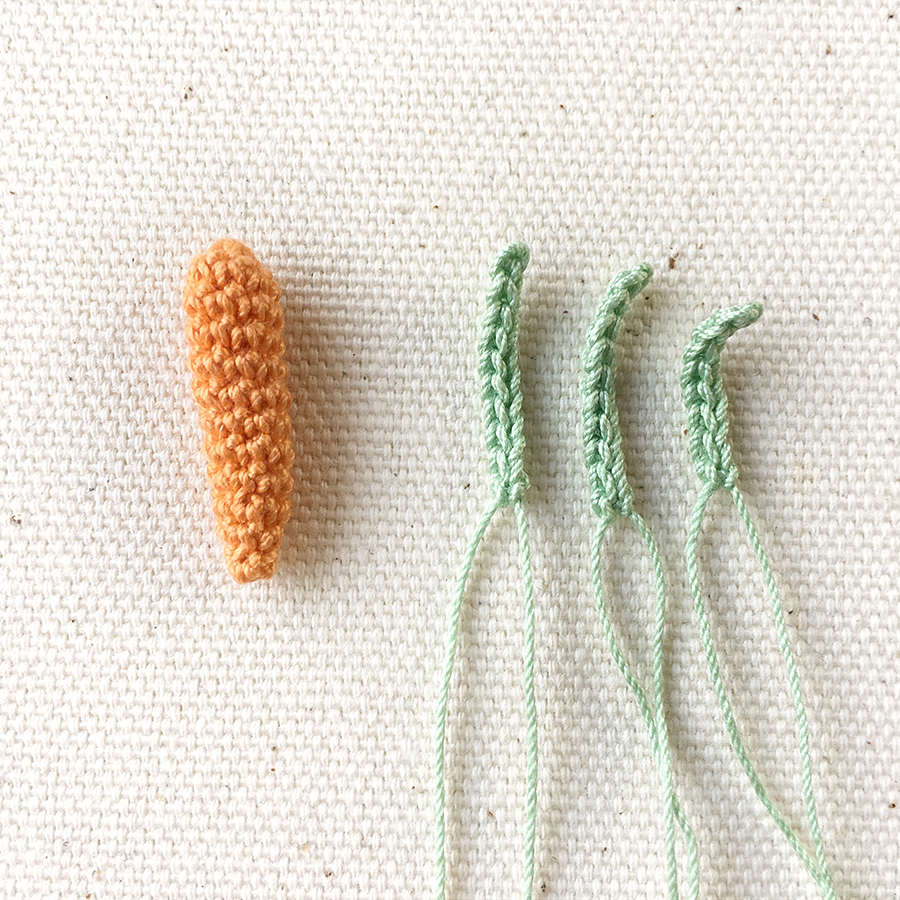
Cut yarn, fasten off and weave in ends.
Carrot Leaves (with color avocado)
Nr 1: ch 12, 11 sl st into these chains, fasten off with long tail
Nr 2: ch 10, 9 sl st into these chains, fasten off with long tail
Nr 3: ch 8, 7 sl st into these chains, fasten off with long tail
Use the yarn ends to sew the leaves to the top of the carrot. Arrange the carrot and if necessary use some white yarn to sew the arms onto each other with 1-2 stitches, so the carrot sits tight in Clara’s arms.
You have successfully finished your project… Congratulations!
All links tagged with a star* are affiliate links, which means if you purchase an item through this link, the seller will pay me a small percentage of the purchase price as a provision. There are NO EXTRA COSTS for you, it just helps me a bit with offering my crochet patterns for free.
Tag your images with #ClaraLovesCarrots and #Polaripop on Social Media to share!
– – – – –
YOUR RESULTS
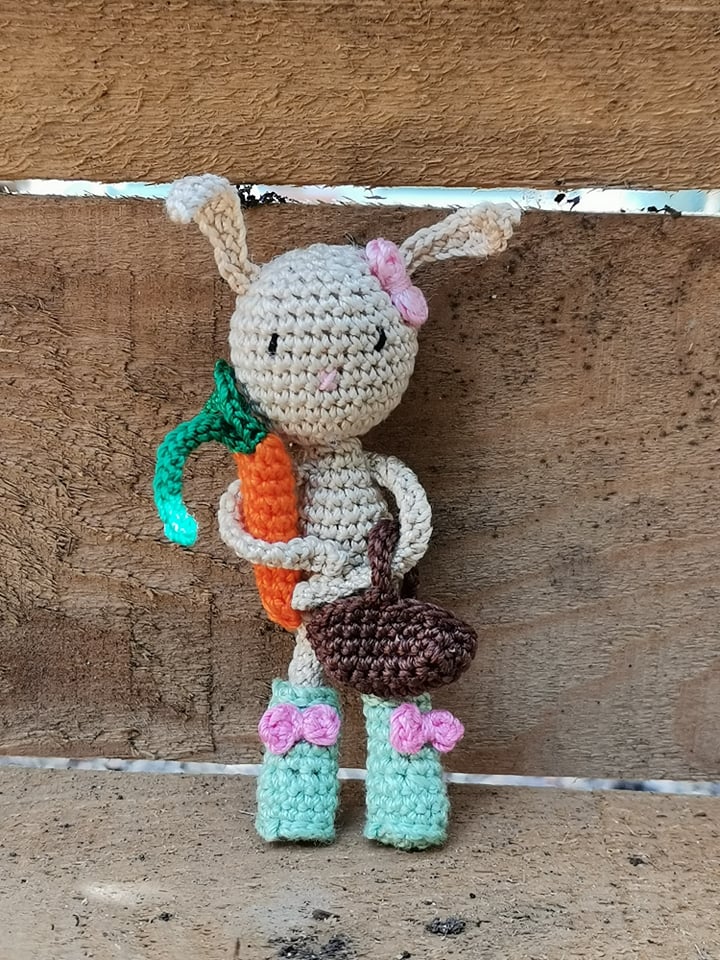
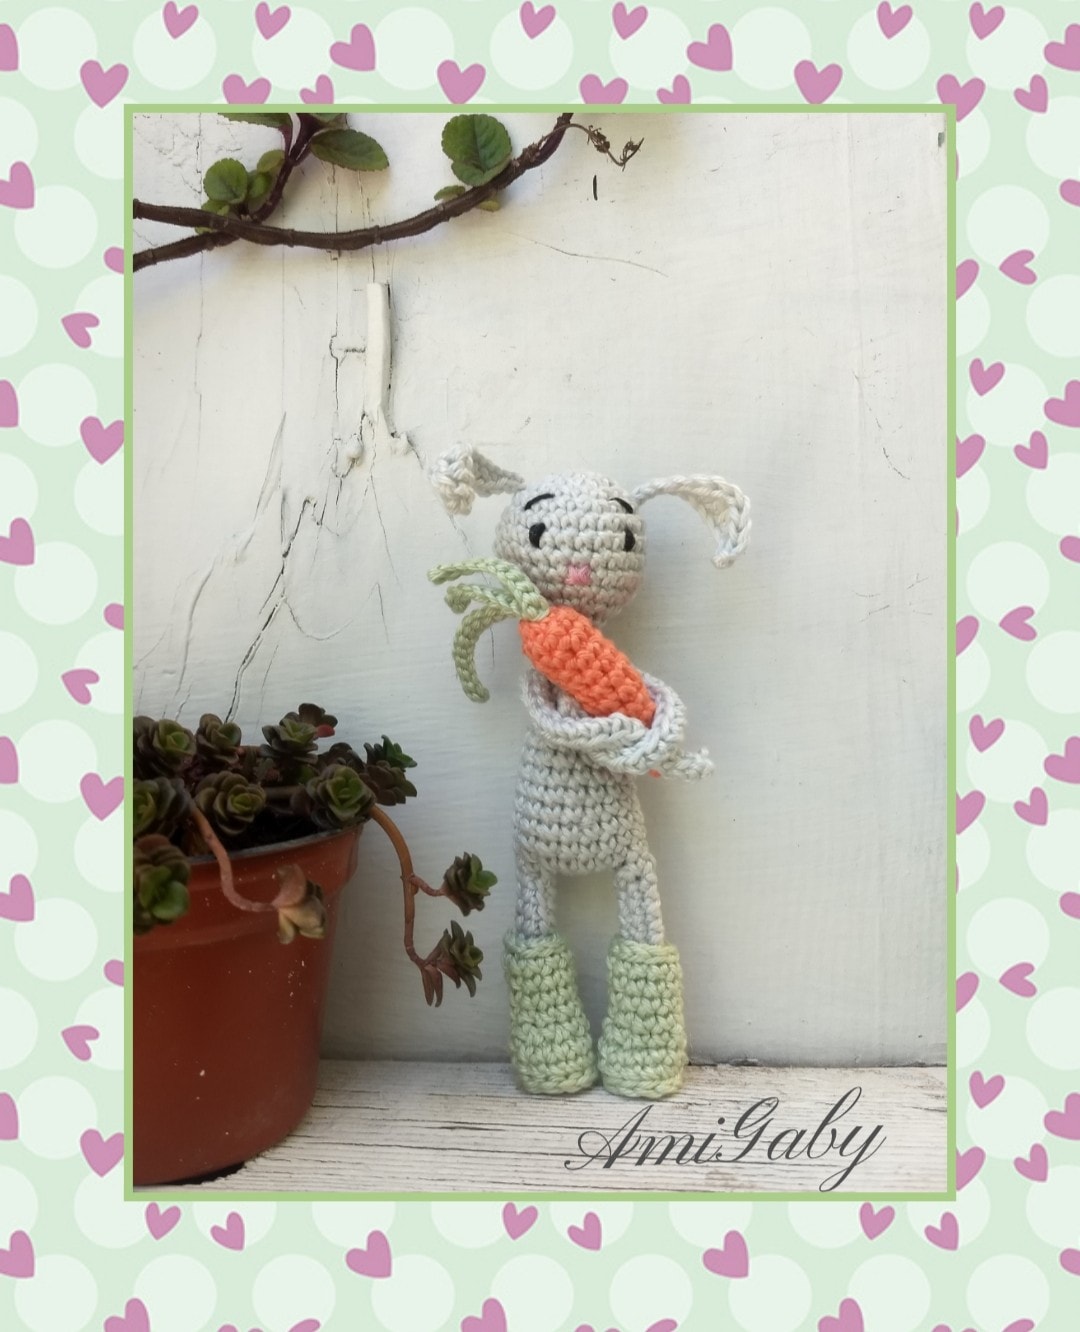
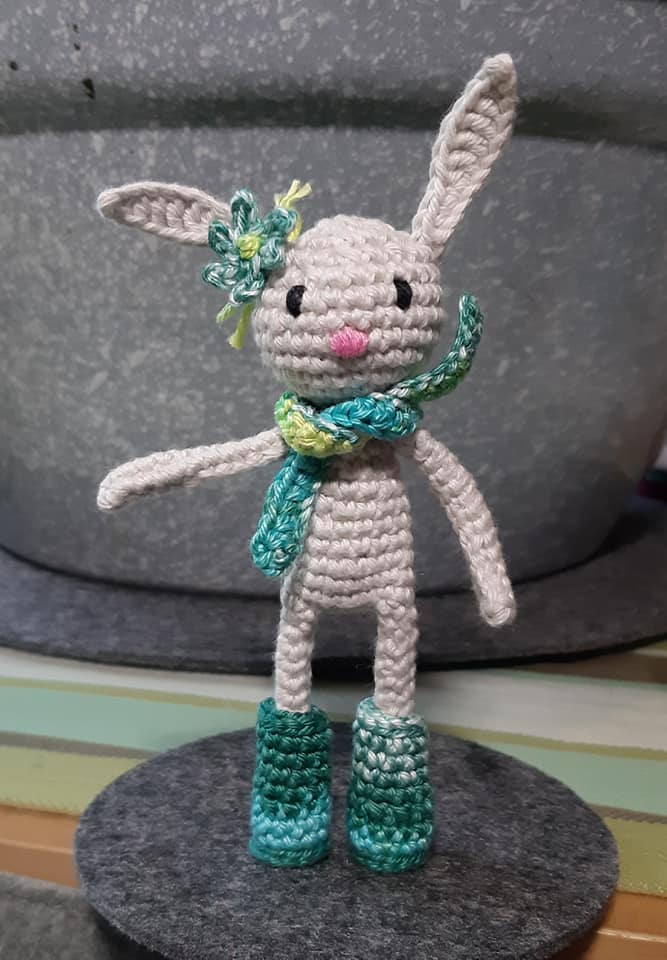
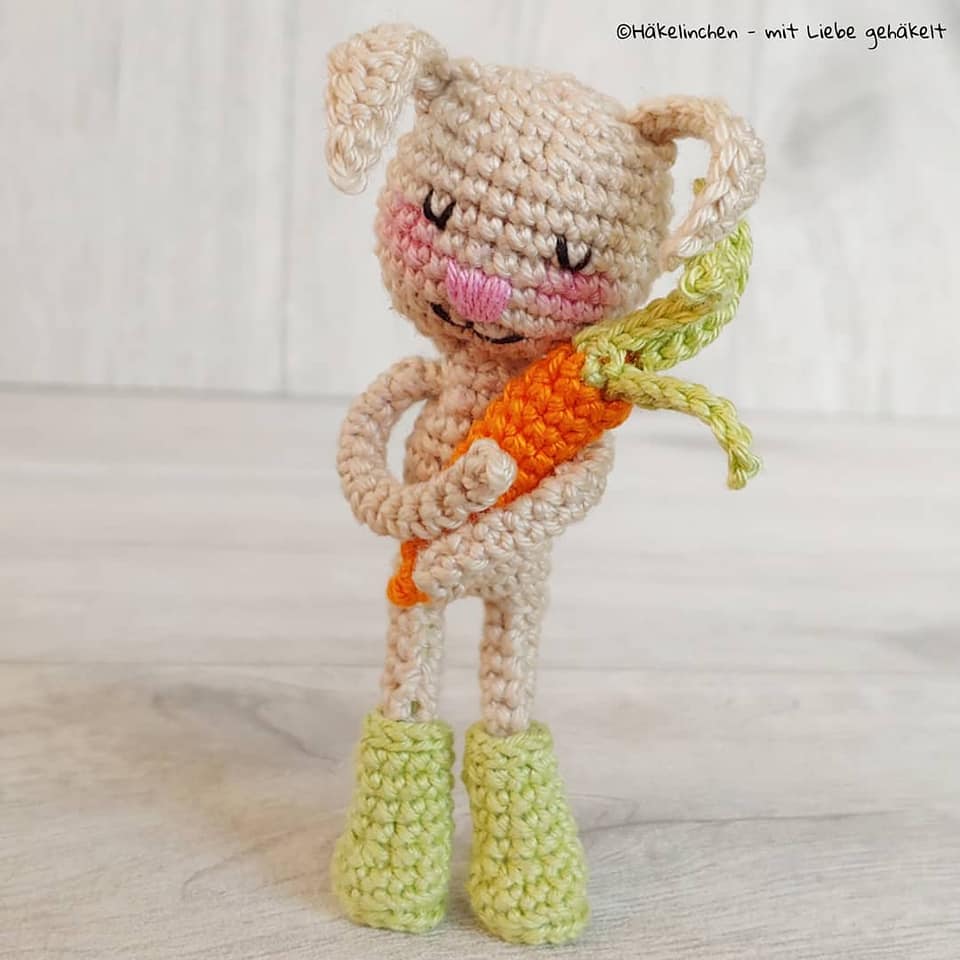
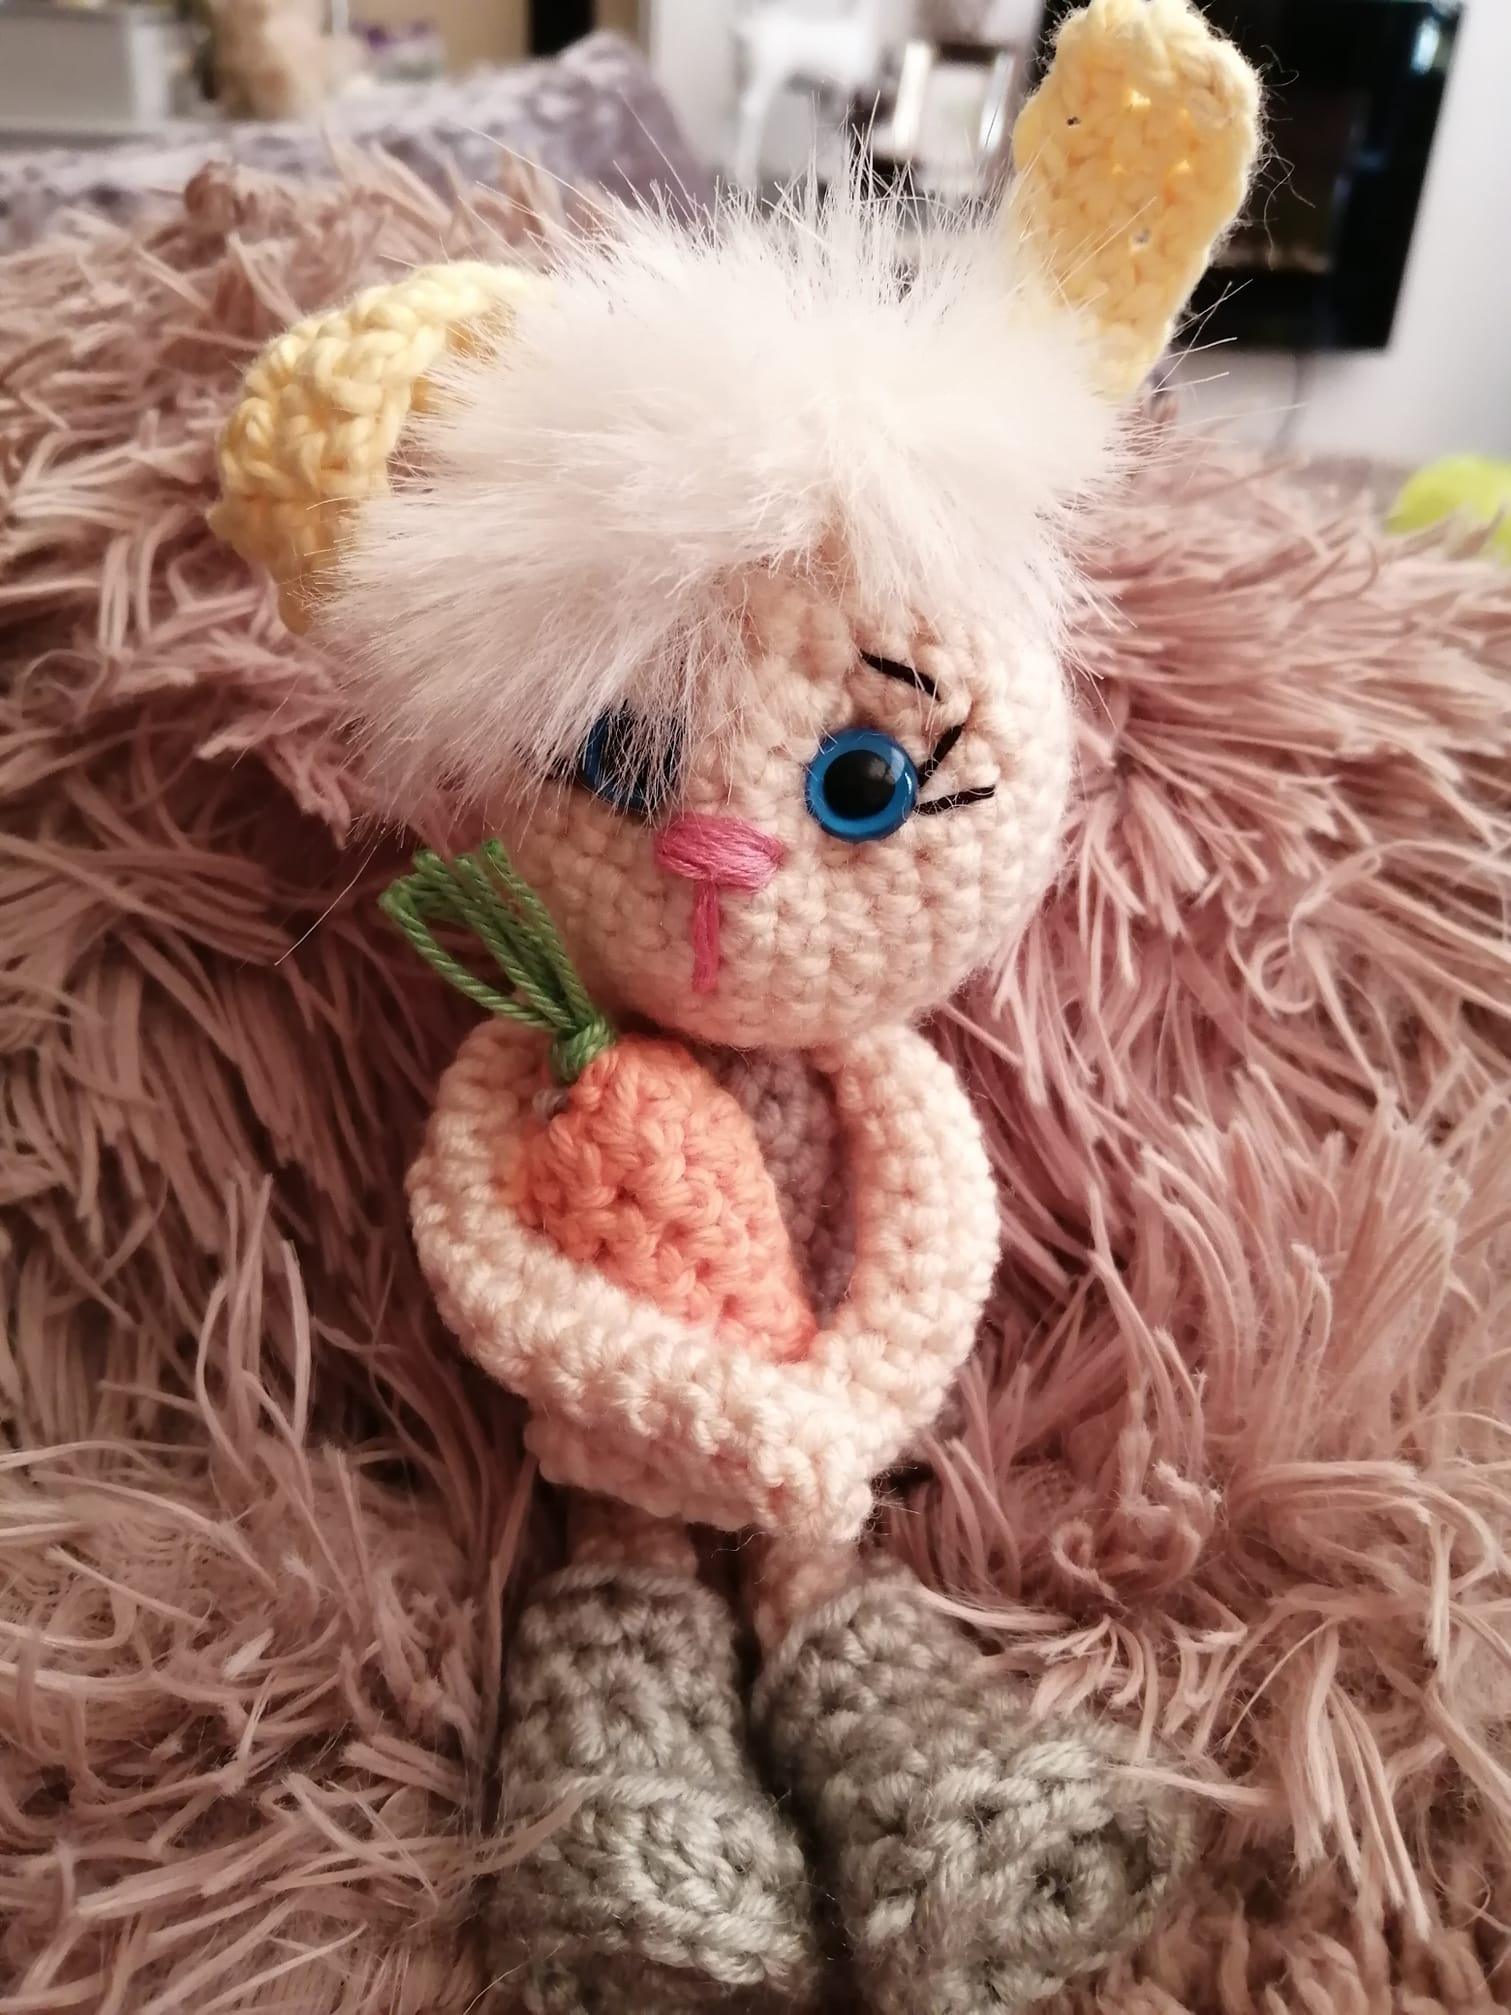
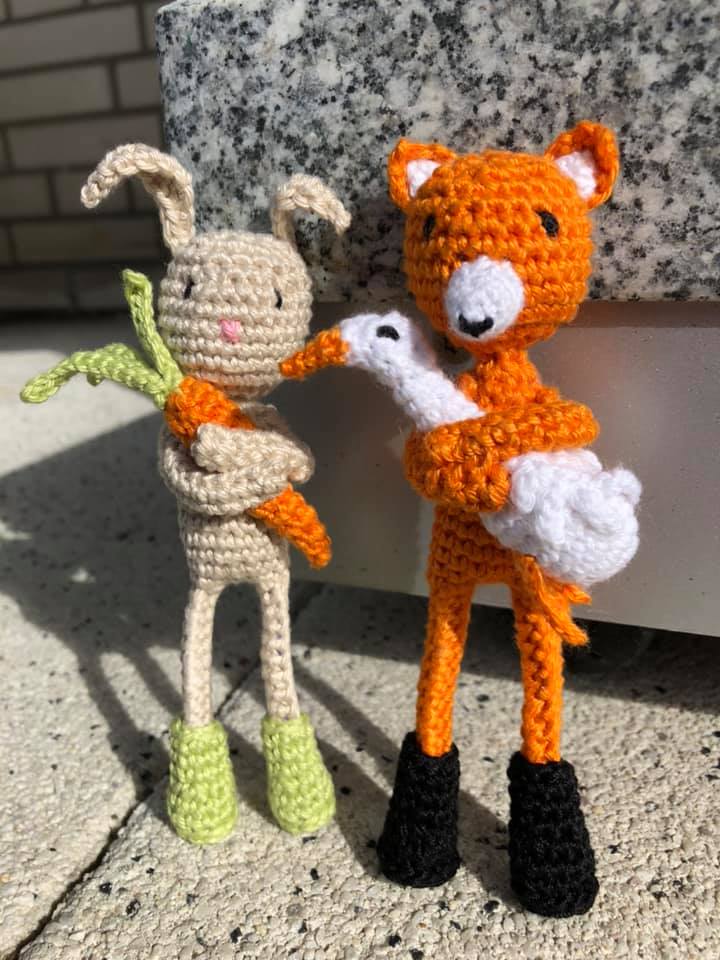
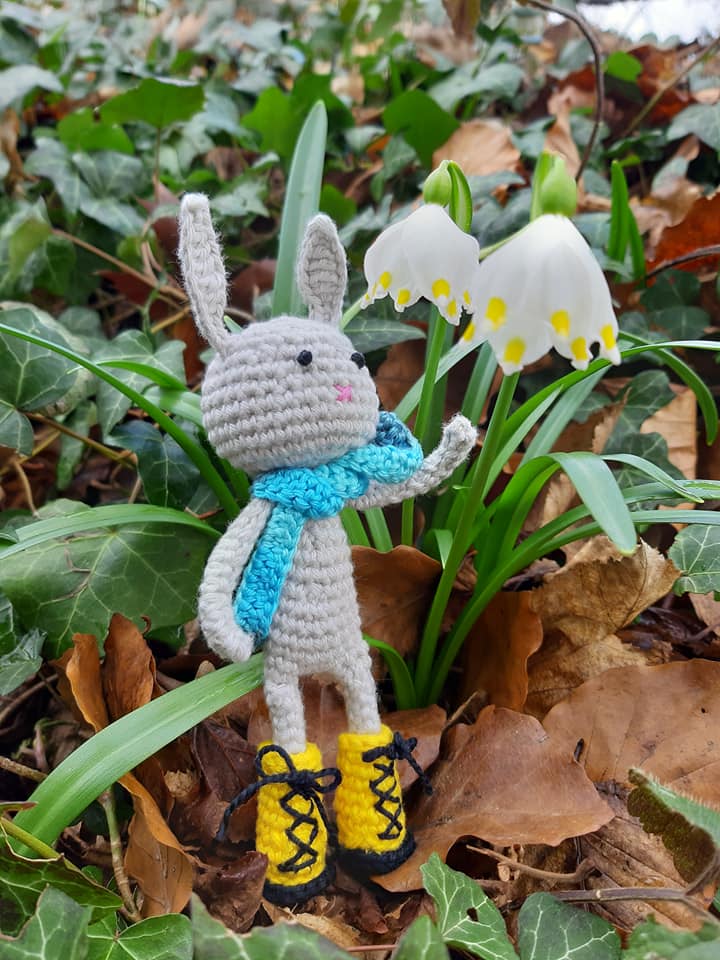
Have a look at some gorgeous results of the Crochet-Along we did in our Facebook Group Polaripop’s Elves. Click the image twice for more details on some of the artists.

